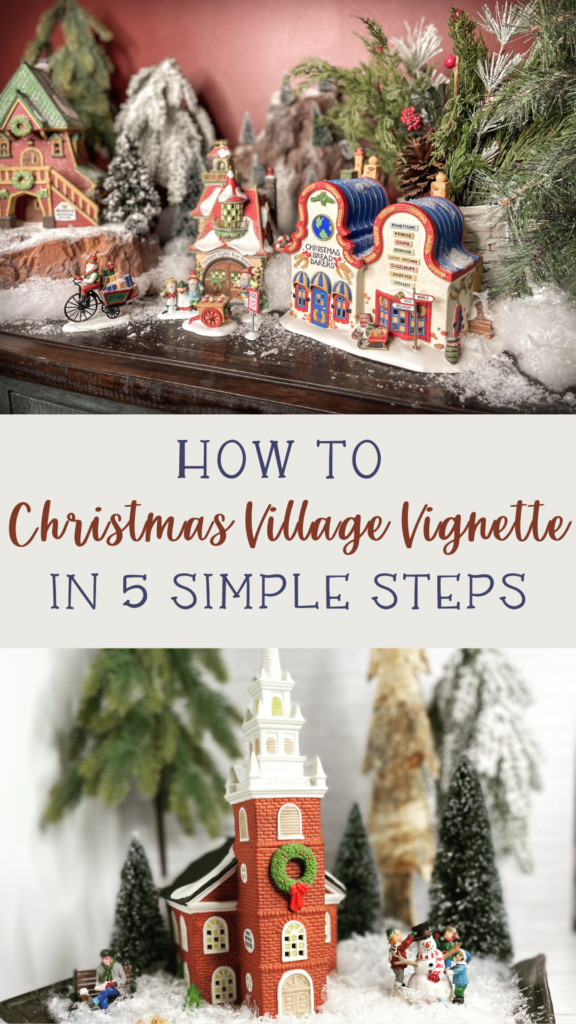
If you love Christmas Villages but don’t have enough space to have a big display, I am going to walk you through – in 5 easy steps – how to set up a small Christmas Village display that is just as magical, impactful, and enjoyable as the large Christmas Village displays we see. Jump straight to it below or read on for a little information about small Christmas Villages, or as I like to call them, Christmas Village Vigennette.
Bigger Villages Are Not Always Better
Bigger village displays are not always better. For most of us, when we hear “Christmas Village,” what comes to mind are those giant displays. It’s true; those villages really are incredibly magical. However, villages like that take up an incredible amount of space, time, and money. It’s a big commitment and not one that everyone is willing or wants to make.
Having a Christmas village doesn’t have to be a big affair. Small Christmas village displays around the house can be just as impactful and, often, more enjoyable because you spread the magic of a Christmas village throughout the whole house.
Let Me Introduce You to Christmas Village Vignettes
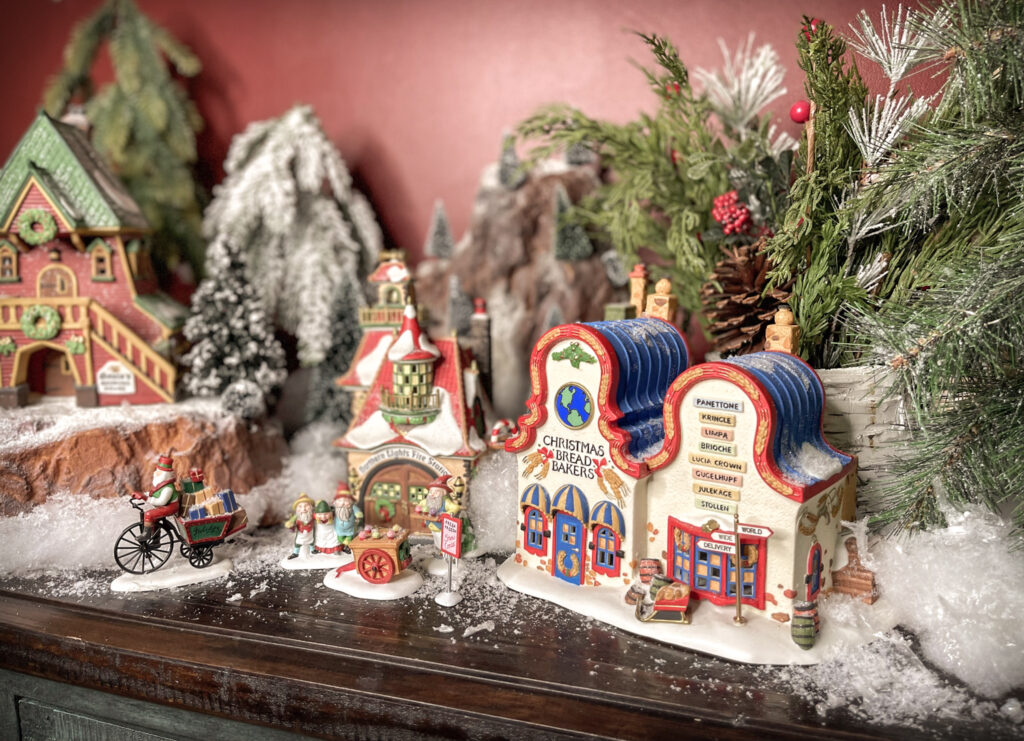
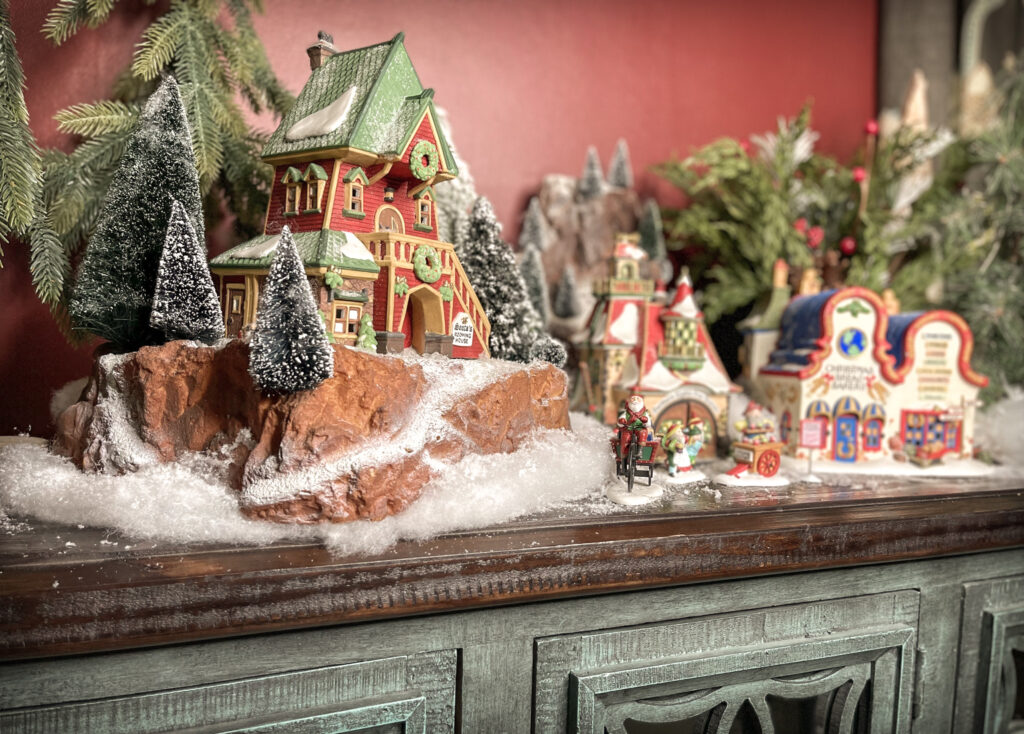
A Christmas Village Vignette is a small Christmas village display that uses a few buildings in the setup. Heck, you can even have a singular building in your vignette. It can cover a whole console table or be displayed inside a decorative tray that sits on top of that console table. The point is vignettes are not about having a bunch of buildings in a massive setup but rather having a complete and full scene surrounding your village building{s}. You know how the old saying goes…Layers, Layers, Layers (that’s not actually the old saying, but let’s just go with it). The key to Christmas Village magic is always in the layers, no matter how big or small the display is.

How to Build a Small Christmas Village Display in 5 Simple Steps
Follow these five simple steps to create an enchanting village vignette with many layers.
Step 1 – Planning Your Christmas Village
Consider all the buildings, accessories, and landscape items you have to choose from. I like to gather all of mine in one spot to look at for maximum inspiration. Then, come up with a story using some or all of the pieces. Is it a shop on Mainstreet bustling with Christmas shoppers and Christmas carolers? Is it a lodge in the woods where skiers just came off the slopes to warm by the fire? Or maybe it’s an alpine village nestled in the mountainside? Whatever direction you go, a cohesive story is what helps build the magic.
Village Build Tip
Don’t feel like you have to use expensive village pieces from the same company. You don’t! Mix and match brands, paint your own ceramic buildings, or make your own from popsicle sticks. Any of the above will look great if you use these 5 steps.
Step 2 – Placing your Village Buildings

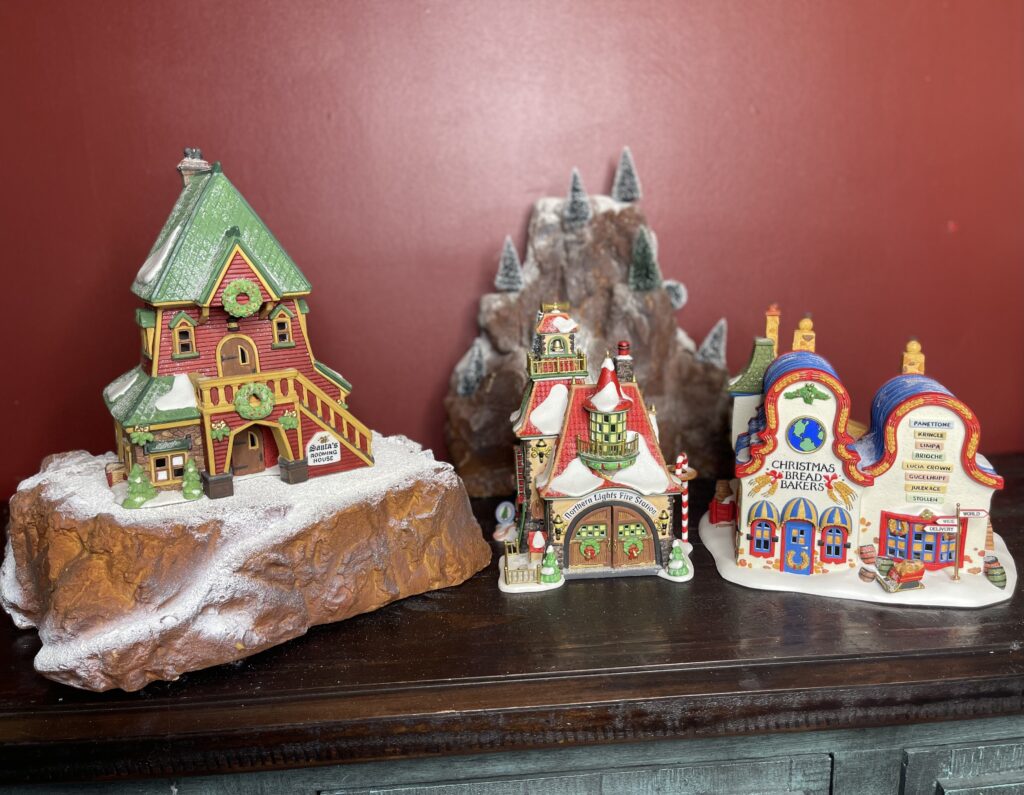
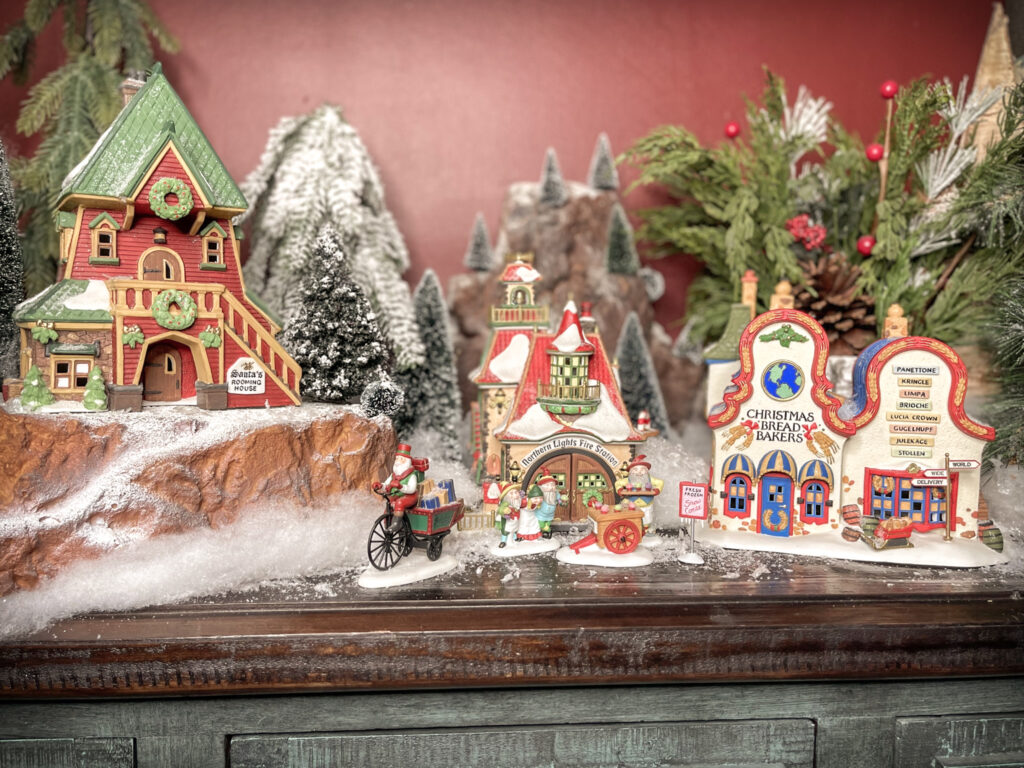
The placement of your buildings matters; they are the stars of your Christmas Village. Everything else added to your Christmas village vignette is there to accent and add interest to the main character of the story…the village buildings. You can place all the buildings at the same level or use risers to raise up some of the buildings and give a bit more visual interest. If you choose to use risers, there are many different options to consider.
For example, the riser itself can be used as a visual part of the display. Some ideas are old books, wooden boxes, or landscape platforms. Each of these options adds a unique touch to your village. You can find a good selection of platforms on ehobbytools.com. Or, for something very special, check out Etsy for handmade platforms; some beautiful options are available.
Alternatively, you can use risers hidden under fabric. This is a convenient solution because it doesn’t matter what the risers look like as long as they get the job done. Some examples of risers are; shoeboxes, wood blocks, and plain styrofoam. You can then cover up the risers with a snow blanket, white felt, or whatever color fabric you want to use to cover the risers.
Lastly, if you really feel crafty, you can design and carve your own platforms out of styrofoam. This is an interesting option because you can make a platform that fits exactly what you have in mind at an affordable price. If this sounds interesting to you, check out this great tutorial by Miriam’s Manner on how to craft a stone platform with steps.
Step 3 – Landscape, Hardscape, and Trees

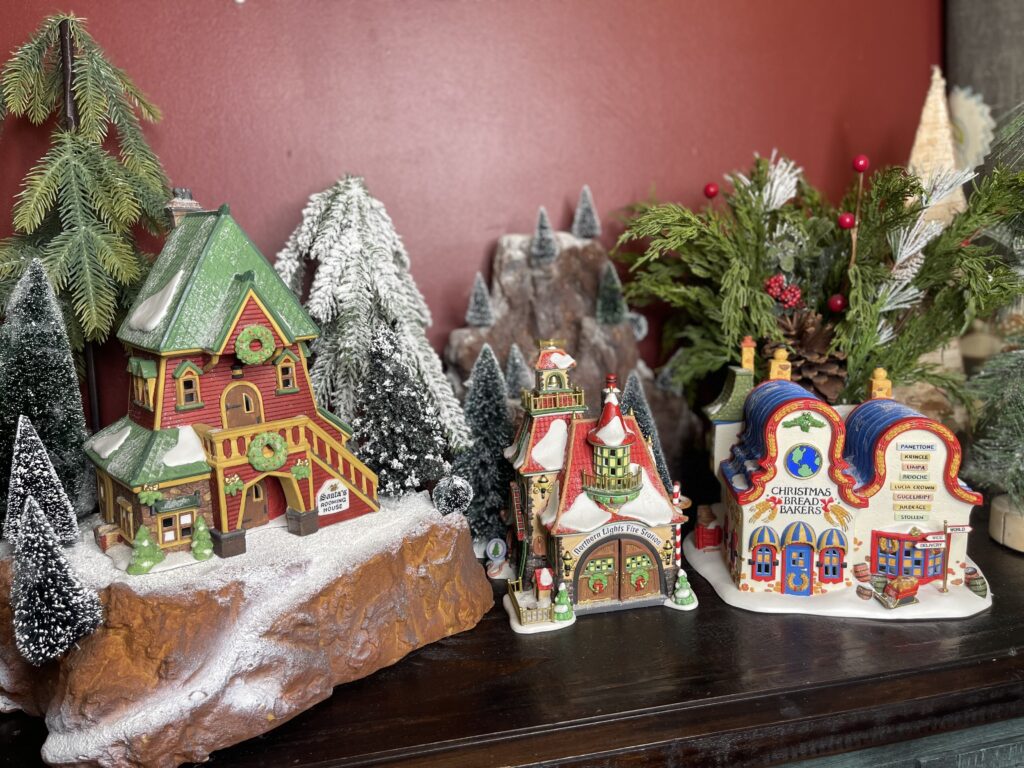
Now that your buildings are set, the next step is to place all your landscape pieces: mountains, trees, roads, and any water features. These items make your Christmas village look real and lend to the magic. I have listed some of my favorite go-to items below.
Think about the land your Christmas village is built on. Is it the icy lands of Arendelle? If so, you will need white platforms and snow-caked mountains. Maybe it’s a bustling Christmas metropolis; in that case, you will need roads, sidewalks, and trees lining the streets. Perhaps it’s the countryside with rolling hills, rivers, and evergreen trees. In that case, you would need some hills, a river feature, and tons of trees or evergreen accents.
Here is a list of some of my favorite landscape items and where I have gotten them:
- Mountains – Lemax brand, purchased from garage/estate sales and ehobbytools.com
- Bottle Brush and Other Trees – any brand. I have purchased these from garage/estate sales, Amazon, Michaels, and ehobbytools.com.
- Evergreen trees – You can get creative here. I have used everything from trees found in Target’s dollar bin to fake evergreen bouquets I found at discount home good stores.
- Roads – any brand. I have purchased these from garage/estate sales, Amazon, Michaels, and ehobbytools.com
- Lakes/Rivers – any brand. Lemax and Department 56 have great options. I have purchased these from garage/estate sales, Amazon, Michaels, and ehobbytools.com. I have also seen people make awesome lakes and rivers from resin and rocks. If you want to try and make your own lake, check out this great tutorial by Villages of All Seasons
Step 4 – People, Animals, and Accessories

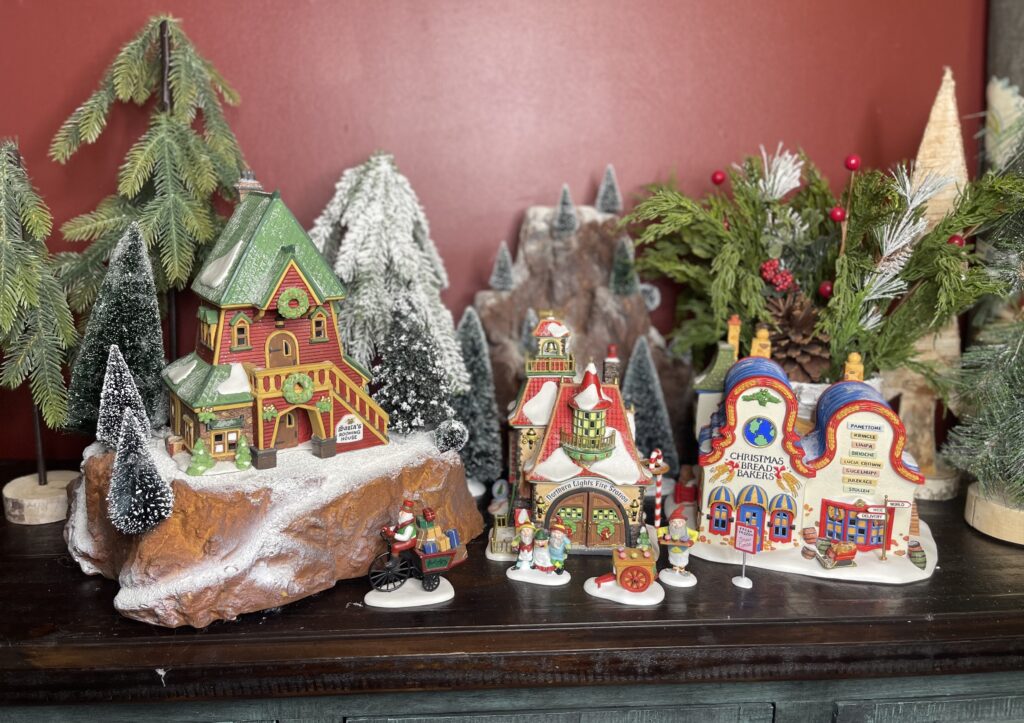
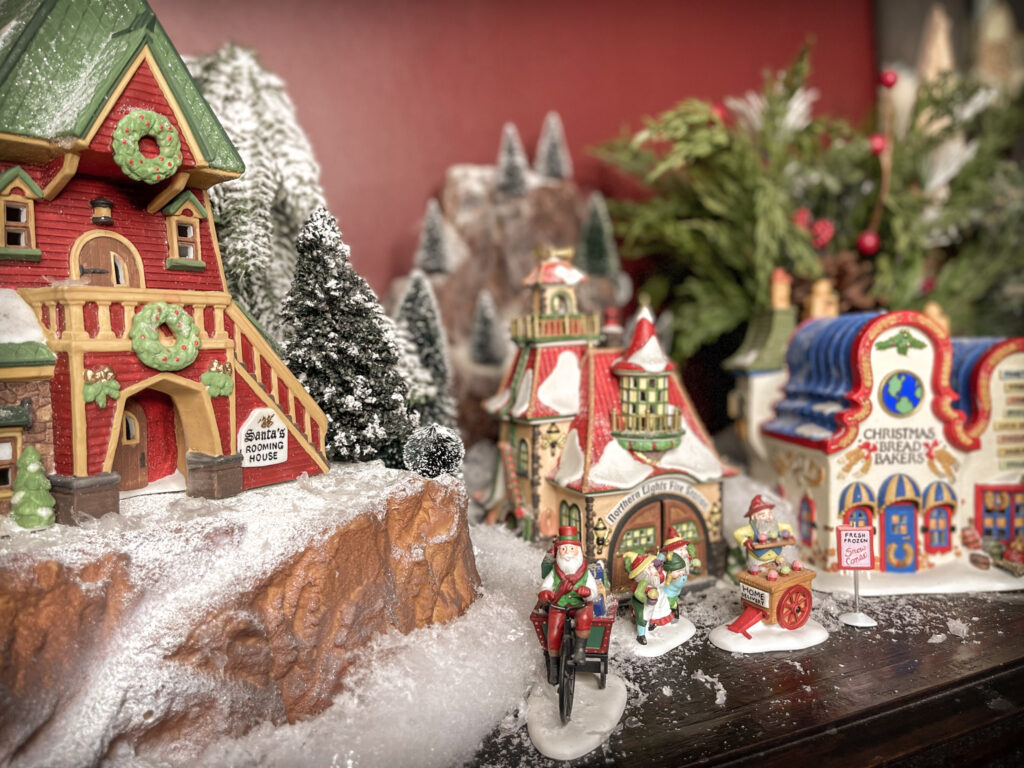
Ok, I have to admit…this is my absolute favorite part. For me, this is where the stories are told. The people, animals, and accessories bring the village vignette to life. If you have followed the 3 previous steps, adding people, animals and accessories are like tapping your village with a magical wand. Just like that, your village comes to life. So, let’s explore each category and some ideas of where to purchase them.
- People – So many stories can be told through your village people, like a group of friends gathered around a fire pit, laughing as they recap their day on the slopes. Or a family loaded with boxes and bags out for a day of shopping, picking up last-minute gifts for the family. The people give you opportunities to tell stories all through your village display. Any brand will do; Lemax and Department 56 have great options. I have purchased these from garage/estate sales, Amazon, Michaels, and ehobbytools.com.
- Animals – Dogs on the street, deer in the woods, and raccoons creeping around the trash cans are a great way to bring the village to life. Any brand will do; Lemax and Department 56 have great options. I have purchased these from garage/estate sales, Amazon, Michaels, and ehobbytools.com.
- Accessories – There are SO MANY options in this category. Street lights, a park bench, stop signs, mailboxes, cars on the road, fences, fire hydrants, and water towers. Endless options. My only recommendations are to pick items that make sense in your vignette and enhance the story you created in Step 1. ehobbytools.com has a great selection.
Village Build Tip
Check the scale before you purchase! You will want all the people, animals, and accessories you purchase to be roughly the same scale as your buildings.
Step 5 – Snow
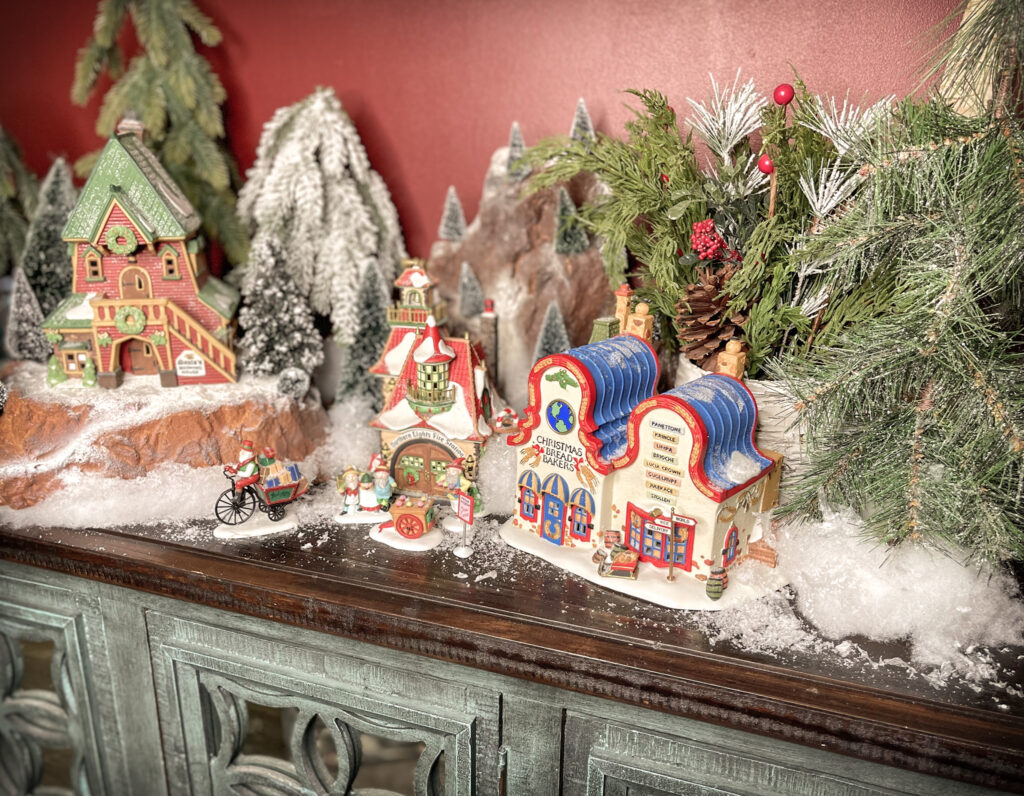
Here it is, snow…the icing on the cake, so to speak. Adding snow and the amount tends to be a very personal preference. Some people put it everywhere, while others use little to no snow.
BUT WAIT!!! I say everyone should give snow a try. Snow is the quiet powerhouse in helping your village setup. It can hide cords, seams, and gaps between buildings and/or landscaping. It can make your village look literally more seamless, letting the magic of your village shine through.
In addition to its ability to help in the setup, I love the look snow gives my village and I add it to every village, varying the amount to fit the story of the village.
I use three types of snow in my village displays: snow fluff, small snow flurries, and larger snowflakes.
Snow Fluff
First, I put in snow drifts using “snow fluff,” AKA polyester stuffing. That goes around the base of the buildings, platforms, and mountains, wrapped around the base of trees, and placed between buildings. This hides the gaps between the village pieces and the base its sitting on, making it look seamless.
Village Build Tip
Use Chopsticks to place Snow Fluff in hard-to-reach spots without knocking over trees, people, and accessories.
Loose Snow
Next, comes the loose snow; the snow flurries, and snowflakes. Again, the loose snow does a great job at hiding the seams and taking away distractions so the magic of your village world can shine through.
Loose snow is key in your village set-up. My personal preference…I put this stuff on everything; the landscape, platforms, top of the buildings, tree branches, roads, and sidewalks. Everywhere!
Snow Cleanup
You might wonder, “How in the world do you clean up millions of flecks of snow when you put your village away”? Well, I’ll tell ya…I gather the snow fluff, shake off the loose snow, and store it in a ziplock for next year. Next, I use a paintbrush to “sweep” up as much loose snow as possible, store it in a ziplock bag for next year, then vacuum up the rest. Easy peasy.
Below is a list of brands I use for snow and where I get them.
- Buffalo Snow Extra Fine Furries – Amazon or Michaels
- Buffalo Snow Iridescent Snowflakes – Amazon or Michaels
- Buffalo Snow Fluff – Snow Drifts. I use Buffalo Snow Fluff, but any polyester stuffing will work. Amazon or Michaels.
Ready, Set, Build
That’s it. 5 simple steps to getting an amazing Christmas Village Vignette. Now get out there and get lost in your own Christmas Village Vignette.
You can check out my blog post, 11 Must-Have Products to Set Up an Epic Christmas Village, to see the products I use when setting up my Christmas Village.